![]()
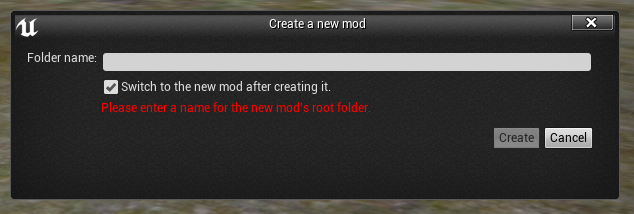
If you see this message and don’t know what is going on, it’s most likely a space in your mod name. Spaces are not allowed!
If we have entered a valid name and click Create the devkit will be restarted.


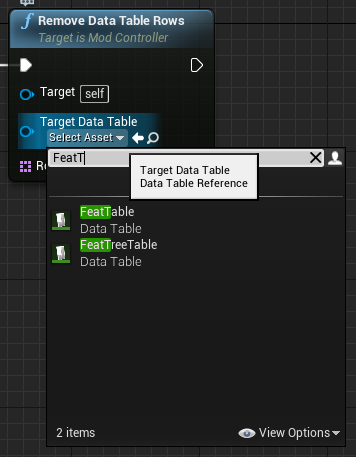
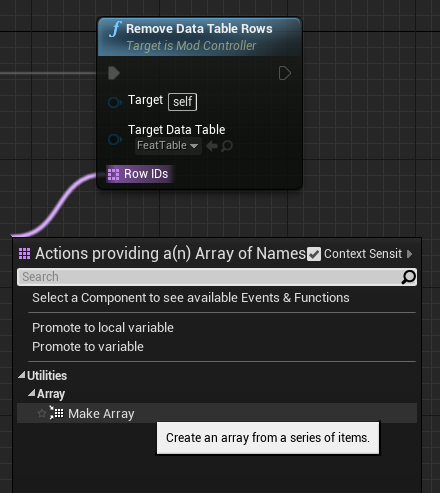
Click on the small arrow to the right of Select Asset and enter FeatTable in the search field. Select FeatTable (not FeatTreeTable!) from the list.
The node should now look like this
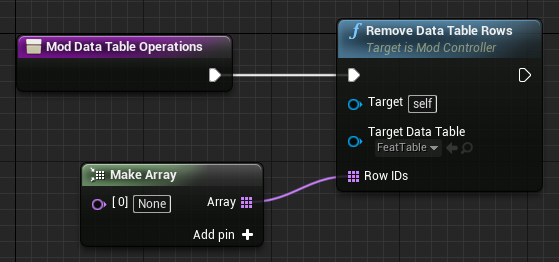
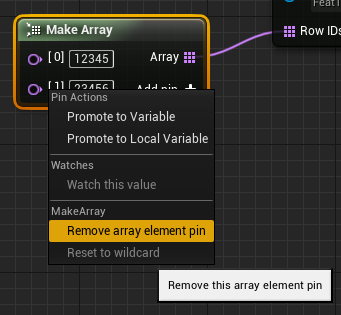
Now we add a list of Row IDs to the node. To do this, we click (and hold) the left mouse button on the square in front of the text Row IDs and drag the mouse away from the node until we see a line, release the mouse button and the following context menu should open. Select Make Array from the list.
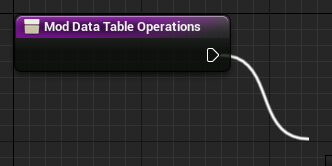
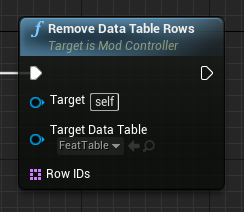
The node should now look like this

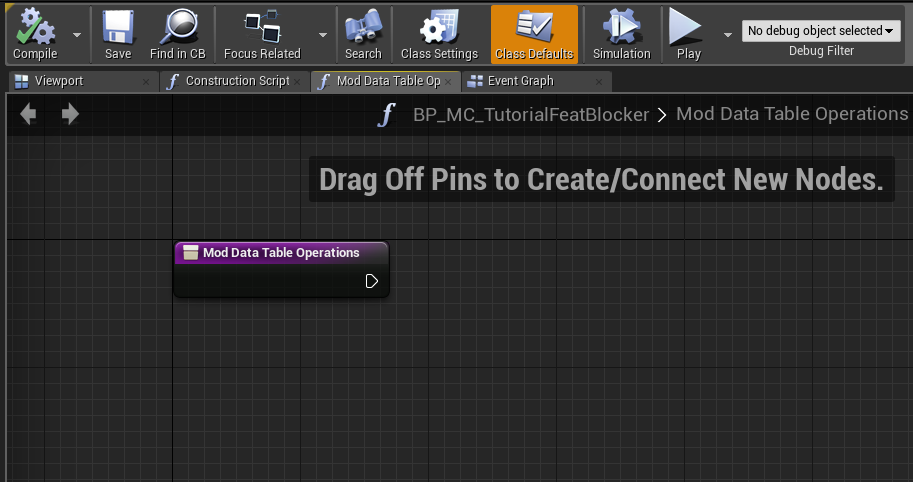
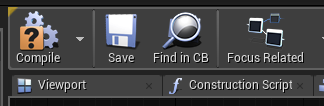
That’s it. In the upper left corner of the current function view, you can find the Compile and Save buttons. Hit the Compile button. If the compile is successful and returns no errors, click Save.
The Compile button should change to


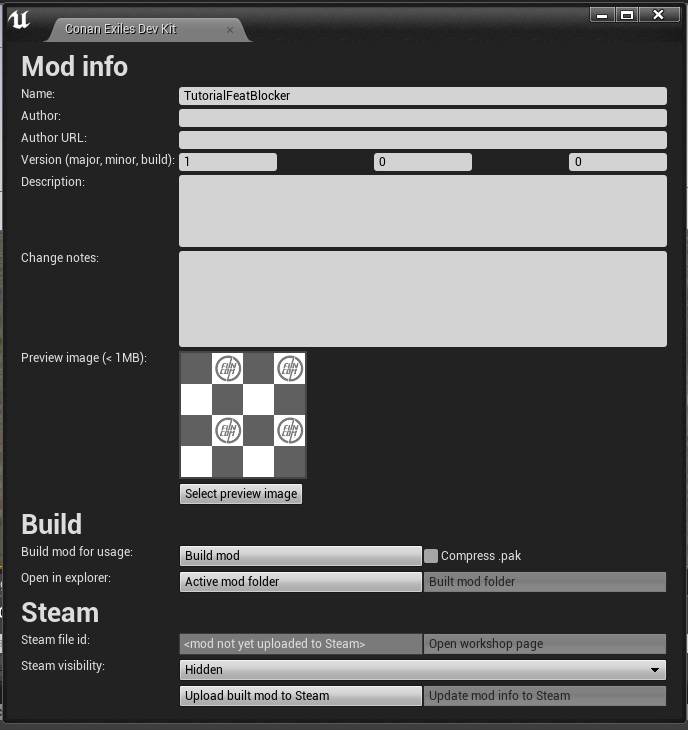
Section Mod Info
Most fields are optional, but it makes sense to fill them with content to give interested users or server admins an impression what the mod does.
A preview image is mandatory and must be provided.
Section Build
Here you can find the Build mod button. Next to it the Compress .pak option. Basically with a small mod it does not matter if you compress in or not. Normally I have activated compression for my mods, but details about the advantages and disadvantages are beyond the scope of this tutorial.
With the two buttons Active mod folder and Built mod folder (here still grayed out because we never built the mod before) you can open the windows explorer and jump directly to the sources or the cooked pak file on your computer.
Section Steam
The field Steam file id is currently empty. The ID is automatically assigned by Steam during the first upload. After the first upload you can use the button Open workshop page to jump directly to the steam workshop page of the mod.
With the Steam visibility you can adjust the visibility of your mod. You may choose between Public, Friends-only, or Hidden as your options.
The last two buttons are responsible for the upload of the mod (including the mod info from above) or only the upload of the mod info.
The last step(s)
To publish the mod on steam the following steps are necessary:
- add preview image
- click Build mod (with or without Compress .pak) and wait. Depending on the performance of your computer the build of the mod can take several minutes, but our simple feat blocker should not take too long even on an older computer.
- set Steam visibility
- click Upload built mod to Steam
Done!
If you like my work, consider supporting me and my mods with a donation:
![]()
Where can I find a list of the Feat pins? This guide is amazing aside from a lack of that information
Feat pins?
Yes, in the tutorial we see this part of it:
“That was almost it. All that is missing now are the IDs of the feats you want to remove. These are added to the Make Array node. You can get more fields by clicking on Add pin +. ”
Where do we find the IDs of the feats? I have been looking everywhere for them and unable to locate them.
Start a single player game, make yourself admin and open the feat window. Move your mouse over a feat and you will see the feat ID behind the feat name in the tooltip.
-.- Of course, the ONE place I haven’t checked. Including tearing through every single code file in the game directories.
Thank you!
could teach you how to make one of how to block a sword on a condition? for example, you only equip the sword if you have feat of iron tools.
I currently have no further tutorials planned
So, if I were to need to block feats from 2 different other mods, do I have to make 2 feat blocking mods or 1 and make sure my feat blocker is at the bottom of the list? Like, let’s say I want to block people from learning things from my first feat and then I have a feat that is sixth on my list, should I make the Feat Blocker number seven or do I make 2 different mods?
Both is possible, but I would save myself work and make only one mod and put that after the last mod that contains a feat to block.